Are pests turning your compost bin into their personal buffet? Learn how to deter pests in compost bins, a simple tweak to keep your compost pest-free!
Composting is a fantastic way to reduce waste and create nutrient-rich soil, but without proper management, it can attract unwanted pests.
Common pests in compost bins, like rodents, flies, and raccoons, are drawn to certain food smells and moisture levels.
This guide provides effective strategies on how to keep your compost pest-free
1. Choose the Right Compost Bin
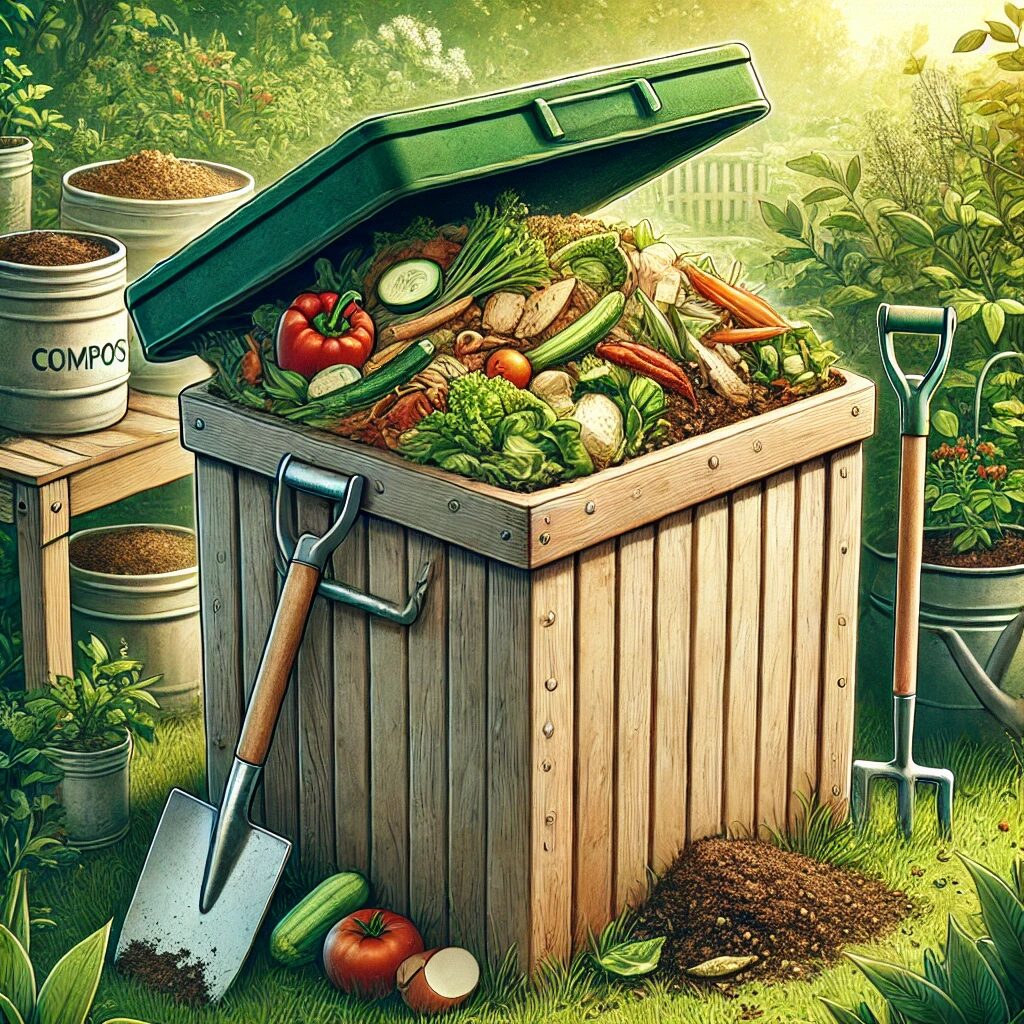
Investing in the right compost bin is the first and most crucial step in keeping pests out. Not all compost bins are created equal, and choosing one with pest-resistant features can save you from future headaches. Look for bins designed with secure, tight-fitting lids to prevent larger pests like raccoons, rats, or squirrels from gaining access.
Opt for bins made from durable, chew-resistant materials such as heavy-duty plastic or metal. These materials are far more effective at withstanding pest attempts to gnaw their way in.
For those who want an added layer of protection, tumbler-style compost bins are an excellent choice. Their elevated design and rotating mechanism make it virtually impossible for pests to enter while allowing for easy turning and aeration of your compost pile. Tumblers also help contain odors more effectively, further deterring pests.
When selecting your bin, consider its size and ventilation system as well. Smaller, well-ventilated bins are easier to manage and attract fewer pests.
2. Maintain the Proper Balance of Green and Brown Materials

Achieving the right balance of green and brown materials in your compost pile is not only essential for efficient decomposition but also plays a significant role in deterring pests. This balance helps reduce strong odors, which are a major attractant for unwanted visitors like rats, flies, and raccoons.
What Are Green and Brown Materials?
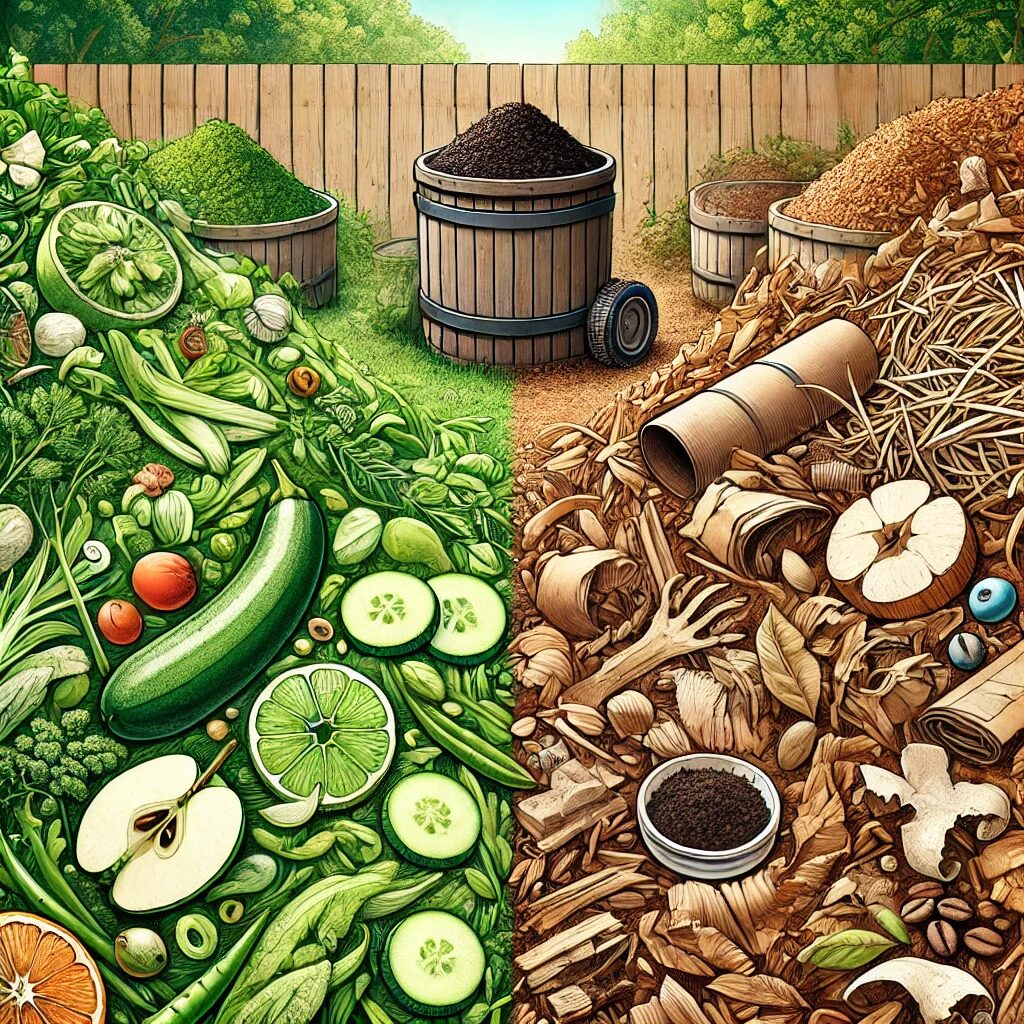
- Green Materials: These are nitrogen-rich, moist items like vegetable scraps, fruit peels, coffee grounds, and grass clippings. While essential for composting, too much green material can create a strong odor, signaling a feast for pests.
- Brown Materials: These are carbon-rich, dry items like dried leaves, cardboard, shredded paper, and straw. Browns help absorb moisture and neutralize odors, keeping the pile less attractive to pests.
The Importance of a 2:1 Ratio
Aim for a 2:1 ratio of browns to greens. This means for every two parts of brown material, add one part of green material. The excess of browns not only balances moisture levels but also minimizes the smell of decomposing organic matter, which is the primary lure for pests.
Tips for Maintaining the Right Balance
- Alternate layers of green and brown materials when adding to your compost bin.
- If you notice a strong odor, add more browns to absorb the moisture and neutralize the smell.
- If the pile seems too dry or isn’t breaking down, add more greens for nitrogen and moisture.
Keeping this balance not only discourages pests but also speeds up the composting process, producing nutrient-rich compost more efficiently.
3. Avoid Adding Certain Food Scraps

One of the simplest ways to deter pests from invading your compost bin is by carefully managing what you add to it. Certain food scraps are notorious for attracting pests like rats, raccoons, and flies due to their strong odors and slow decomposition. Avoiding these items will significantly reduce the chances of pests sniffing out your compost.
What Not to Add:
- Meat and Fish: Raw or cooked meat and fish release strong odors as they decompose, making them a magnet for pests.
- Dairy Products: Items like cheese, milk, and yogurt can emit sour smells and attract flies and rodents.
- Oily and Greasy Foods: Cooking oils, butter, and greasy leftovers are difficult to break down and leave lingering odors.
- Processed and Sugary Foods: Baked goods and packaged items contain preservatives that slow down decomposition and attract pests with their sweetness.
What to Add Instead:
Stick to natural, plant-based materials that decompose quickly and don’t emit strong odors:
- Fruit and vegetable scraps.
- Coffee grounds and tea leaves.
- Eggshells (rinsed to reduce odor).
- Yard waste like grass clippings, leaves, and small branches.
4. Use Pest Deterrents Around the Bin

Using natural pest deterrents around your compost bin is an easy and eco-friendly way to keep unwanted visitors at bay. These deterrents work by creating barriers or emitting odors that pests find unpleasant, ensuring your compost remains undisturbed.
Effective Natural Deterrents:
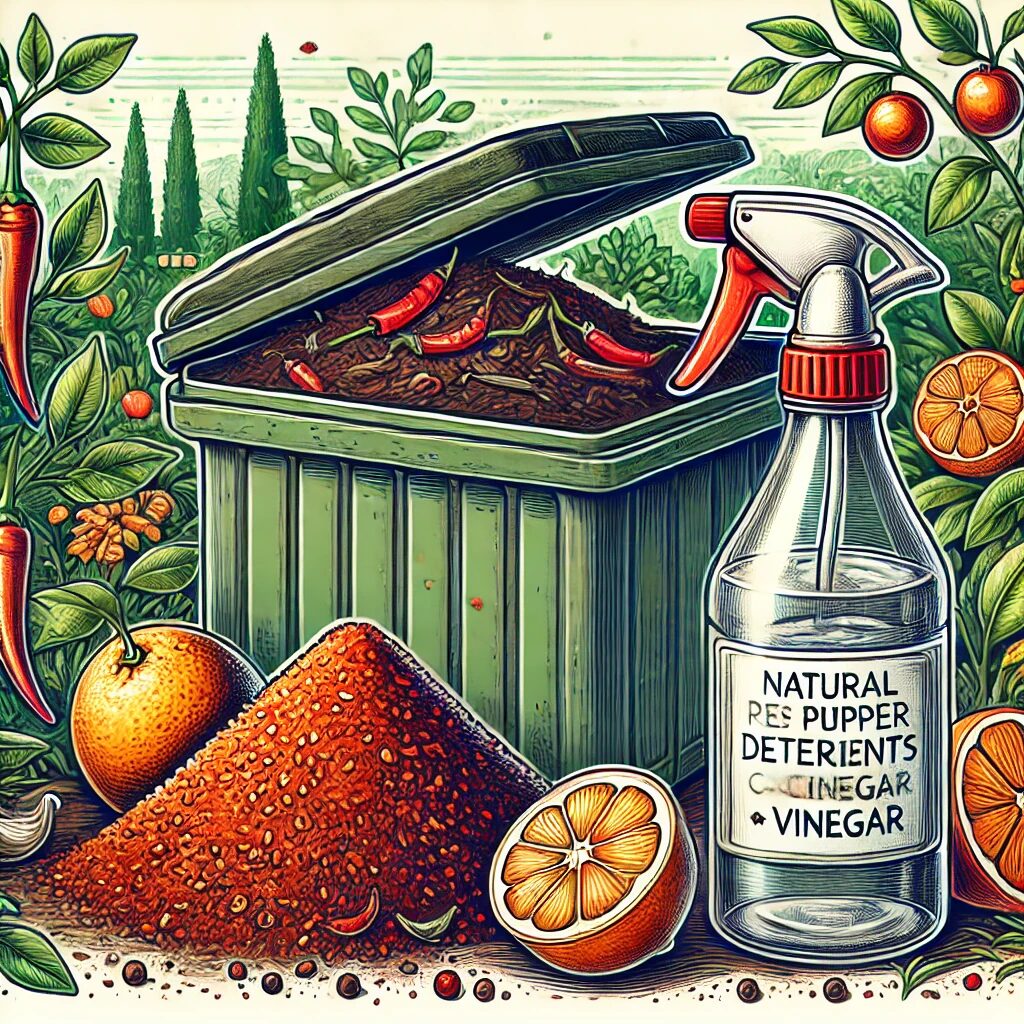
- Cayenne Pepper or Chili Powder: Sprinkle cayenne pepper or chili powder around the base of the compost bin. The strong spice irritates the senses of pests like rodents and raccoons, discouraging them from approaching.
- Citrus Peels: Pests such as rats and raccoons dislike the smell of citrus. Scatter orange, lemon, or lime peels around the bin’s perimeter to create an aromatic barrier.
- Vinegar Solution: Mix equal parts of white vinegar and water in a spray bottle and apply it around the base of the bin. The sharp smell acts as a natural repellent for many pests.
- Essential Oils: Use strong-scented oils like peppermint, eucalyptus, or citronella. Add a few drops to cotton balls and place them around the bin for long-lasting protection.
Application Tips:
Monitor for Gaps: Ensure there are no open areas around the bin that pests could exploit, even with deterrents in place.
Refresh Regularly: Natural deterrents lose their potency over time. Reapply every few days, especially after rain.
Combine Methods: For maximum effectiveness, use a mix of deterrents, such as cayenne pepper combined with citrus peels.
5. Keep the Compost Moist but Not Wet
Maintaining the right moisture level in your compost pile is essential not only for effective decomposition but also for keeping pests at bay. Compost that is too wet or too dry creates an inviting environment for unwanted pests, such as flies or ants, which can disrupt the composting process.
Why Moisture Levels Matter
- Too Wet: Excessive moisture creates an anaerobic (low oxygen) environment, leading to foul odors that attract pests like flies. It can also cause the compost to become slimy and slow down the decomposition process.
- Too Dry: Dry compost is less active biologically, slowing down the decomposition process. Ants, in particular, thrive in overly dry conditions and can make a home in your bin.
How to Test Moisture Levels
The simplest way to determine if your compost has the right moisture level is the “squeeze test”:
- Grab a handful of compost.
- Squeeze it tightly in your hand.
- If water drips out, the compost is too wet.
- If it crumbles or falls apart, it’s too dry.
- If it feels like a damp sponge (moist but not dripping), it’s just right.
How to Fix Overly Wet Compost
- Add more brown materials like shredded paper, dry leaves, or cardboard to absorb excess moisture.
- Turn the pile frequently to improve aeration and help it dry out.
- Avoid adding overly wet materials, such as waterlogged fruit or vegetables, until the moisture level stabilizes.
How to Fix Overly Dry Compost
- Add more green materials, such as fresh vegetable scraps or grass clippings, to increase moisture content.
- Sprinkle water over the pile using a watering can, but do so sparingly to avoid over-saturating it.
- Cover the compost bin with a lid or tarp to retain moisture, especially in dry or windy climates.
Consistency is Key
A well-maintained compost with the right moisture level ensures efficient decomposition and minimizes conditions that attract pests. Regularly monitoring the pile will help you strike this balance.
6. Regularly Turn and Aerate the Compost
One of the simplest yet most effective ways to keep pests out of your compost bin is to turn and aerate it regularly. By mixing the compost, you not only speed up the decomposition process but also create an environment that’s less appealing to pests by disrupting their potential habitats.
Why Aeration is Important
- Accelerates Decomposition: Proper aeration introduces oxygen into the pile, supporting aerobic microorganisms that break down organic material more efficiently.
- Reduces Odors: Aerobic decomposition produces fewer unpleasant smells compared to anaerobic conditions, which are more likely to attract pests like flies and rodents.
- Disrupts Pest Habitats: Regularly turning the pile disturbs nesting pests such as ants, flies, or even rodents, making the bin an unsuitable environment for them.
How to Turn and Aerate Your Compost
- Frequency: Turn your compost every 7–10 days, or more often if the pile seems stagnant or overly compacted.
- Tools: Use a garden fork, shovel, or a specially designed compost turner to mix the materials thoroughly.
- Technique:
- Start at the edges and work your way to the center of the pile.
- Ensure all layers are mixed to expose fresh materials to oxygen.
- Break up any clumps to improve airflow and prevent pest-friendly pockets.
Additional Tips for Aeration:
- Avoid Overpacking: A tightly packed compost pile reduces airflow, encouraging anaerobic conditions and attracting pests.
- Add Bulky Materials: Including items like twigs, shredded paper, or straw helps create air pockets within the pile, making aeration easier.
- Check for Moisture Levels: Turning the compost also gives you an opportunity to assess its moisture content and make adjustments as needed.
Benefits Beyond Pest Control
Regular aeration not only deters pests but also helps produce high-quality compost faster. It ensures a balanced breakdown of materials, prevents unpleasant odors, and keeps the pile at an optimal temperature for decomposition.
7. Place the Compost Bin in a Pest-Resistant Location
Where you place your compost bin plays a significant role in deterring pests. The right location not only keeps pests at bay but also supports faster and more efficient decomposition. Choosing a pest-resistant spot ensures your compost stays healthy and undisturbed.
Why Location Matters
- Heat Discourages Pests: Pests like rodents and insects prefer cooler, shaded areas. Placing your bin in a sunny spot increases the internal temperature, making it less appealing for pests while accelerating the decomposition process.
- Reduces Pest Access: Compost bins placed near hiding spots, such as bushes, sheds, or woodpiles, provide easy access and cover for pests to invade.
Ideal Placement for a Pest-Free Compost Bin
Close to Your Garden: Positioning the bin near your garden makes it convenient to add yard waste and use the finished compost, but ensure it’s not so close that pests could spill over into your plants.
Open, Sunny Area: Position your bin in a sunny location to increase the temperature inside the compost pile, which discourages pests and promotes faster breakdown of materials.
Away from Hiding Spots: Ensure the bin is not placed near potential pest shelters like shrubs, fences, or debris piles where rodents or insects might already reside.
Elevated or Hard Surface: Place the bin on a concrete slab, pavers, or hardware cloth to prevent burrowing pests like rats or moles from accessing the compost from below.
8. Add a Layer of Mesh or Wire at the Bottom
One of the most effective ways to deter burrowing pests like rats, mice, and moles from accessing your compost bin is to add a layer of wire mesh or hardware cloth at the base. This simple solution creates a barrier that prevents pests from tunneling into the compost while still allowing for proper drainage and airflow.
Why Add a Layer of Mesh?
- Blocks Burrowing Pests: Rodents and small animals often dig underneath ground-based compost bins to access the organic matter inside. A mesh layer acts as a physical barrier.
- Maintains Compost Functionality: The mesh allows excess moisture to drain out and oxygen to flow in, ensuring the composting process remains efficient.
- Durability: Hardware cloth or galvanized wire mesh is sturdy enough to resist chewing or clawing attempts by pests.
How to Install the Mesh Layer
Position the Bin: Place your compost bin directly on top of the secured mesh layer.
Select the Right Material: Use hardware cloth or wire mesh with a small grid size (about ¼ inch or smaller) to block even the smallest pests.
Prepare the Base: Clear the area where your bin will sit, removing any loose soil or debris to create a flat surface.
Cut and Place the Mesh: Cut the mesh to fit the bottom of your compost bin, ensuring it extends slightly beyond the edges for full coverage.
Secure the Edges: Anchor the mesh with heavy stones, stakes, or soil to prevent pests from lifting or moving it.
Conclusion
You can maintain a thriving, pest-free composting system that enriches your garden and reduces waste, by implementing these 8 practical tips on how to deter pests in compost bins.
From choosing the right bin and balancing materials to strategic placement and adding physical barriers, these steps are simple yet highly effective in keeping pests at bay.
A little prevention goes a long way in ensuring your compost remains healthy, efficient, and pest-resistant. By taking the time to follow these guidelines, you’ll not only deter pests but also enhance the quality of your compost.
